.webp)
INSTALLING A MOTORIZED GATE: 5 ESSENTIAL STEPS TO KNOW

Comfort, security, management... the advantages of an automatic gate are numerous! As a professional installer, it's essential to guarantee a reliable, compliant system by following a rigorous method. In this article, we detail the 5 key steps you need to follow to install your motorized gate properly!
1. Preliminary analysis of site and requirements
To begin with, it's important to carry out a technical assessment of the site: topography (flat or sloping), width of driveway, type of ground, possible obstacles... These factors will help you determine the type of gate you need, and guide your choice of motor.
Take the time to discuss your needs with your customer: frequency of opening, number of users, pedestrian or heavy vehicle access, exposure to the weather, desired level of security... These factors will influence the gate's composition (aluminum, PVC, wood or wrought iron), motor power, accessories and safety devices.
You also need to take into account any regulatory constraints, and in particular any specific rules applicable to condominium installations. Prior declarations, property limits, local planning regulations: you need to make sure you comply with current legislation.
2. Choice of motor and accessories
Based on these criteria, you can select the most suitable type of motorization.
Here are our tips for each model.
For a sliding gate :
- Ground rail: ideal for flat terrain with space around the edges.
- Self-supporting : practical for sloping or uneven terrain, but only suitable for light, well-balanced gates.
For swing gates :
- Vérinsmotorisés : compact and resistant(strong winds, attempted break-ins...), it is suitable for solid or heavy gates (steel or iron).
- Articulated arms: easy to install, this motorization adapts to all kinds of materials and configurations, following a movement close to a manual opening.
- Underground motorization: invisible, it preserves the aesthetics of the site. More complex to install, but also easier to maintain.
The motor power must then be chosen in relation to the weight and size of the gate.
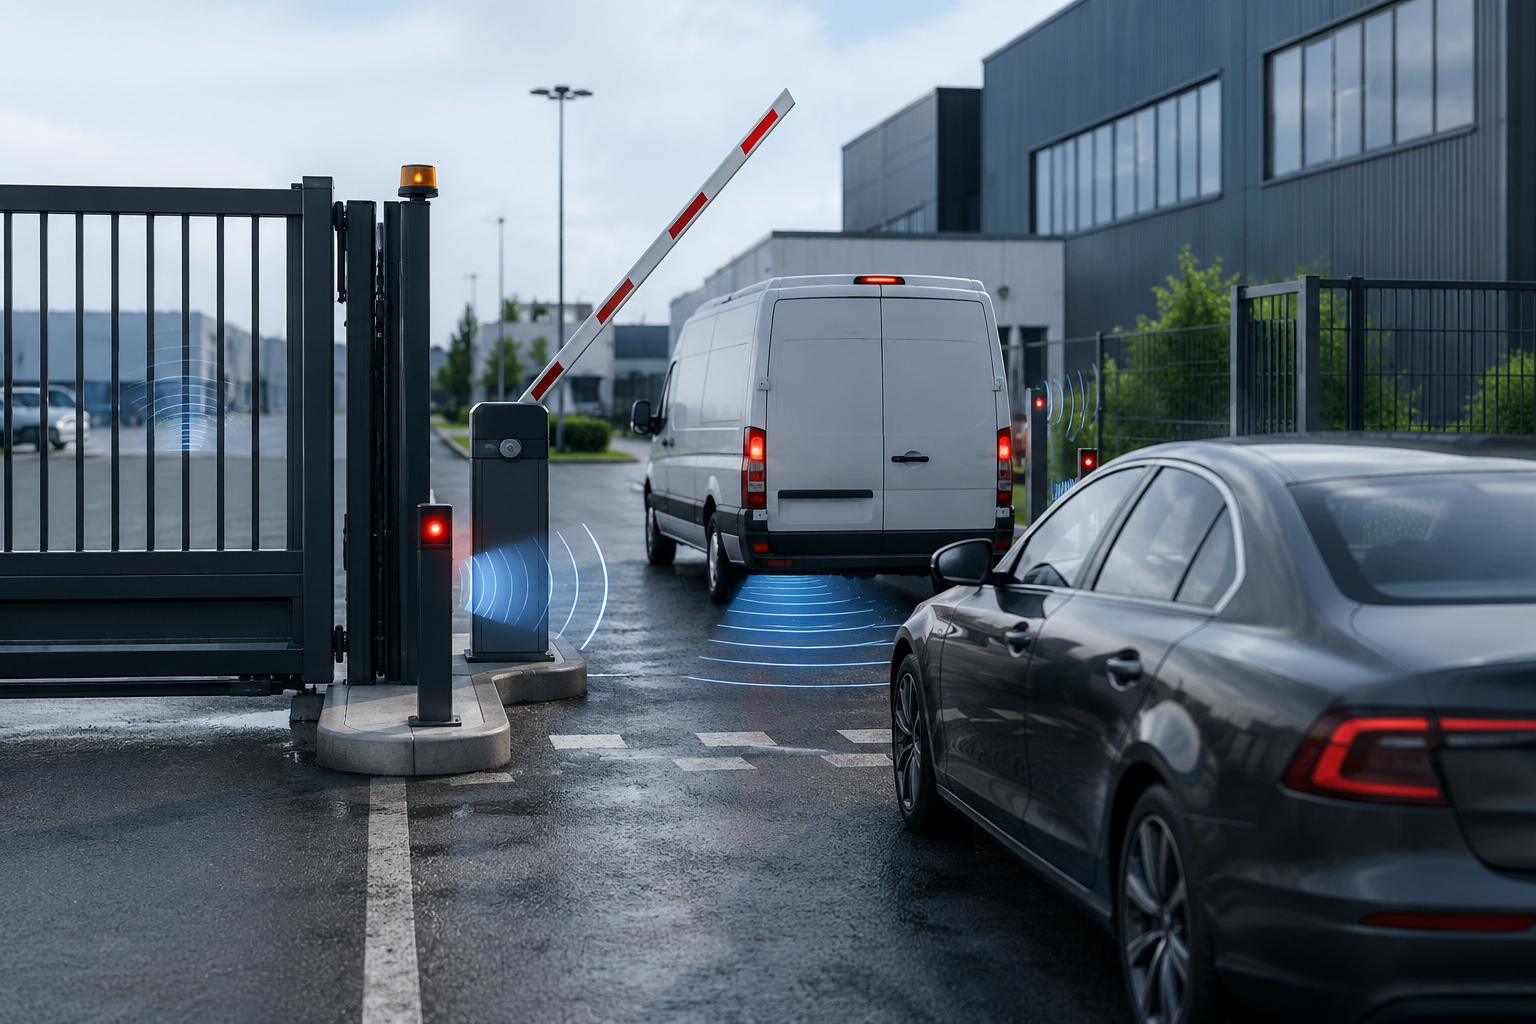
You'll also need to consider compatible accessories for your project (cells, flashing lights, remote controls, keypads, etc.).
Finally, consider integrating the automatic gate with a home automation or access control system.
➡️ Find out more about the equipment and accessories you need to install a motorized gate.
3. Masonry work and technical preparations
Installing a motorized gate often requires preparatory work. This may include laying concrete pillars, creating a foundation for a guide rail (in the case of a sliding gate) or rebuilding existing structures.
Special attention must then be paid to cable routing. Trenches must be provided for electrical conduits, a protected pathway for control and power cables, and a technical space for any control panel.
Be sure to observe the distances and alignments recommended by the manufacturer to ensure proper system operation and avoid premature component wear.
4. Motorization installation
Finally, let's move on to the actual installation phase. The motor is attached to the gate or pillars, depending on the chosen configuration. The articulated arms, cylinders or rails are mounted and precisely adjusted. All components must be perfectly aligned to ensure smooth, jolt-free movement.
The electrical connection is made in compliance with current standards, in particular NF C 15-100. The installer connects the safety accessories (photocells, beacon, antenna, etc.), as well as the control system.
Mechanical adjustments then need to be made: limit switches, stops, opening and closing speed. Particular attention must be paid to push force to ensure user safety.
5. Setup and commissioning
This is the last but not least step! Commissioning includes programming the remote controls, keypad or RFID badge, depending on the system selected.
At the end, you carry out a complete test of the installation to check that the gate functions correctly in all configurations. Every safety device must be tested: automatic stop in the event of an obstacle, response time, signal light responsiveness... If necessary, adjustments can be fine-tuned.
All that's left to do is hand over the manuals, maintenance instructions and, if applicable, the maintenance booklet. Correct parameterization ensures the system's longevity and reduces the need for future servicing.
Prastel latest news
Discover the latest blog posts on automation and safety.

DISCOVER OUR LATEST CATALOG
